
Have you ever wished you could produce professional-grade 3D prints at home? Now you can thanks to resin 3D printing. Stereolithography, a technique used by resin 3D printers, produces incredibly detailed prints with smooth surfaces and intricate geometry. Forget about the apparent print pathways and layer lines found in FDM prints; resin printing creates objects that resemble injection-molded components.
With alternatives at various price points, the technology behind resin 3D printers has become more widely available. A resin 3D printer has become popular among manufacturers and hobbyists, who are now creating parts for cosplay, tabletop gaming, model making, and other uses. With water-washable resins and straightforward UV curing chambers, the resin ingredients and post-processing methods have also advanced, making the process simpler to complete at home.
It's time to think about integrating a resin 3D printer into your setup if you're interested in highly detailed 3D printing and want to produce parts that appear professional. Resin printing may necessitate a few extra safety precautions, but with the correct tools and methods, you can quickly produce jaw-dropping prints. Waiting for you is the high-resolution 3D printing world!
Overview of SLA 3D Printing and Resin
UV radiation is used in the additive manufacturing method known as SLA 3D printing, or stereolithography, to harden liquid resin into plastic objects. SLA is a wonderful place to start if you want to start making high-quality 3D prints at home.
The SLA 3D Printing Process
An initial 3D design, often a CAD file, is used in the SLA process. The 3D printer software then slices this into thin layers.
- A UV laser is directed to the resin tank's surface by the 3D printer.
- The resin is hardened by the laser beam as it follows the first layer's pattern.
- The build platform is lowered into the tank, the top layer is recoated with resin, and the subsequent layer cures.
- Continue doing this until the complete 3D portion is created.
SLA 3D printed parts are renowned for their accurate dimensions, precise details, and flawless surface finish. There are several different types of SLA resin:
- Standard resins: for precise prototyping.
- Tough resins: more resilient to impact and lasting. Good for useful components.
- Castable resins: used to create molds for casting metal components. Cleanly burns away.
- Resins used in dentistry and medicine: for biocompatible components FDA authorized.
SLA 3D printing is a great place to start if you want to start 3D printing complex parts with high levels of precision. You can produce outstanding prints quickly with the correct resin and a cheap desktop SLA 3D printer.
Selecting the Best Resin for Your 3D Printing Needs
The kind of resin you select for 3D printing with resin is essential for producing high-quality results. There are a few things to think about:
Resin Properties
The characteristics of various resins can differ significantly. A general-purpose resin with a hardness of 80 to 85 Shore D is a decent place to start for the majority of hobbyists. It will create pieces that are slightly flexible but also hard. Choose a resin designed specifically for mechanical parts if you require one. A resin with a lesser hardness, around 70 Shore D, will provide you with more flexibility to capture tiny details while making figurines or other ornamental things.
- Viscosity: Thinner, less viscous resins tend to provide better detail, but they may also call for more supports. Although more stable, higher-viscosity resins can lose delicate details.
- Toxicology: Since many resins do release fumes, lower-toxicity resins are preferable for usage in the house. Look for products with "low odor" or "eco-friendly" labels.
- Color options: Resins are available in a variety of colors, from neutral tones to vivid hues. Natural clear resin is the most adaptable material for painting or post-processing.
Compatibility
The majority of resins are compatible with the main SLA 3D printer brands; however, before making a purchase, carefully verify to be sure a resin will work with your particular printer model. For the best results, the resin and printer must be compatible.
Optimizing Models for Resin 3D Printing
You must optimize your 3D models to achieve the best output from your resin 3D printer. Compared to filament printing, resin printing has a few different specifications. When designing models for your resin 3D printer, keep these suggestions in mind.
Support Structures
In order to manufacture overhangs and bridges, resin 3D printers need support structures. Before exporting the model for printing, create support structures in your 3D modeling program. The support structures give the resin a base on which to print. Make the supports thin and simple to separate since you'll need to take them out after printing.
Hollow Parts
Any model components that do not need to be solid should be hollowed out for resin printing. This will minimize print failures and lower the amount of resin needed. Typically, walls with a thickness of 1.5 to 2 mm are reliable enough. Any hollow pieces will require tiny holes, roughly 3 to 5 mm in diameter, for the resin to drain from.
Split Large Parts
Consider cutting up any particularly huge elements in your model, if you have any. The resin has a harder time curing uniformly on larger surfaces, which can cause print failures or distorted pieces. Results of improved quality will result from breaking the model up into segments. The sections can then be assembled using glue after printing and curing.
Text and Fine Details
Resin 3D printers can create prints with incredibly fine details and excellent resolution. Small print and fine details, however, might still not print precisely. To guarantee that text prints clearly, resize it to a minimum height of 5mm. Text should be embossed rather than engraved for optimal results. Raised writing produced by embossing prints more crisply.
In conclusion, making your 3D models resin-printable will help you get successful, high-quality prints on your resin 3D printer. Spend time adding appropriate supports, hollowing out parts, cutting out huge chunks, and checking text and fine details. Beautiful 3D printouts will be the reward for your perseverance!
Step-by-Step Guide to 3D Printing With Resin
Use resin to create high-quality 3D prints by following these procedures:
Gather Your Supplies
A few essential elements are required:
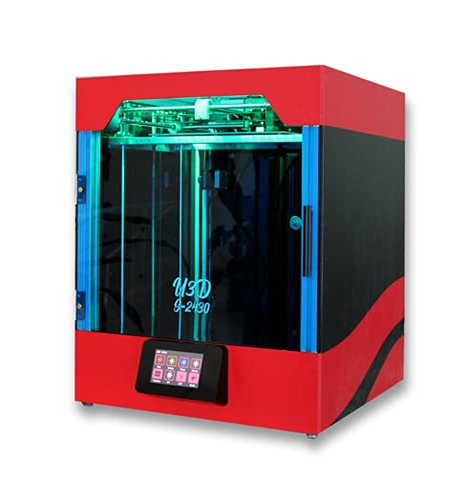
- A resin 3D printer like the Elegoo Mars or Anycubic Photon
- 3D printing resin such as Elegoo ABS-like resin or Anycubic Basic resin
- Cleaning with isopropyl alcohol
- Nitrile work gloves
- Microfiber fabric
- A respirator or mask
Level Your Printer
Place your 3D printer on a stable, flat platform for the best results. A leveled printer can prevent prints from working and use less resin. To correctly level your printer, follow the directions in the handbook.
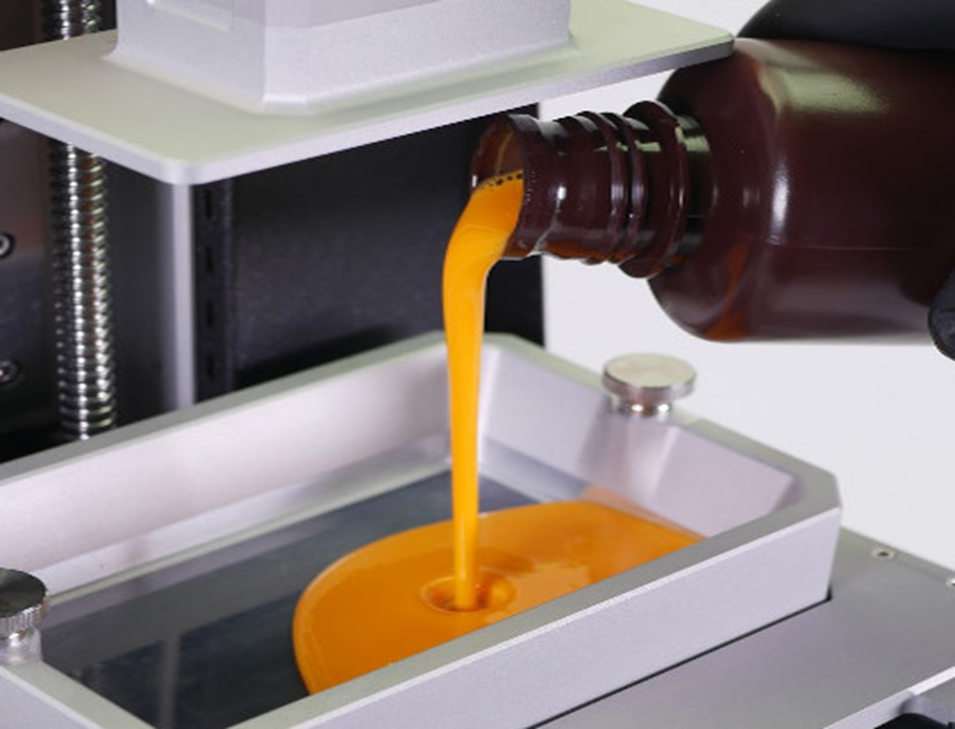
Add Resin to the Tank
Pour into the resin tank the amount of resin that has been prescribed for your particular printer model. Make sure not to fill the tank to the top. The resin tank lid must be firmly fastened.
Export Your 3D Model File
To generate or open your 3D model file, use a 3D modeling program like Blender or ZBrush. The file should be exported in the stl or obj format so that resin 3D printers can read it. On a USB disk, save the document.
Load and Slice Your Model
Put your 3D model file into the 3D printer's slicing program. The model will be divided into layers by the slicing software so that the printer can reproduce them. Your USB drive will now contain the sliced file.
Start Your Print
Your 3D printer has the USB disk in place. To find your sliced 3D model file and begin printing, use the control panel. The size and intricacy of your model will affect how long it takes to print.
Post-Print Cleaning and Curing
Carefully remove your 3D print from the printer. Rinse excess resin off with isopropyl alcohol and water. Place the print in a UV light chamber for final curing. Your resin 3D print is now ready to display!
With some practice, you'll be creating stunning resin 3D prints in no time. Let me know if you have any other questions!
Producing High-Quality 3D Prints at Home with Resin Printers

If you adhere to a few important guidelines, producing high-quality 3D resin prints at home is definitely feasible. Utilizing a reputable resin 3D printer, premium resin, the right print orientation, and careful post-processing are the most crucial elements.
If you adhere to a few important guidelines, producing high-quality 3D resin prints at home is definitely feasible. Utilizing a reputable resin 3D printer, premium resin, the right print orientation, and careful post-processing are the most crucial elements.
Invest in a resin 3D printing-specific printer like the Anycubic Photon or Elegoo Mars series for the finest results. These offer the clarity and accuracy required for fine resin prints. A resin printer shouldn't be converted because the output won't be as good.
Select Premium Resin
Resins are not all made equal. Select a resin with a thin layer height, such as 0.025mm, for highly detailed miniatures or mechanical components. For functional prototypes, stronger resins with greater flexural strength are preferable. Anycubic, Elegoo, and Siraya Tech are a few well-known premium resin brands.
Optimize Print Orientation
The quality of your print greatly depends on how you position it on the build plate. To increase resolution, position smaller details upward. To prevent print failures, reduce the cross-sectional area in contact with the FEP film. The optimum surface finish is achieved by angling prints at 45° or less.
Clean and Cure Your Prints
Resin prints need to be cleaned and allowed to cure before being handled right out of the printer. Isopropyl alcohol can be used to remove extra resin from prints. After that, post-cure for 3 to 5 minutes on each side under UV light to harden. This enhances look, durability, and dimensional precision.
These pointers will help you produce amazing, excellent resin prints quickly. Even if the initial cost of the equipment may appear high, it is worthwhile for makers and artists who wish to produce work of professional caliber. Rapid prototyping, custom miniatures, prop creation, and other uses are all made possible by home resin 3D printing.
Conclusion
These pointers will help you produce amazing, excellent resin prints quickly. Even if the initial cost of the equipment may appear high, it is worthwhile for makers and artists who wish to produce work of professional caliber. Rapid prototyping, custom miniatures, prop creation, and other uses are all made possible by home resin 3D printing.


Leave a Reply